A scalable design system built to modernize Zello’s Android app and reduce redundancy in design and engineering.

Project Overview
Timeline
Team
Role
Platform
Problem context
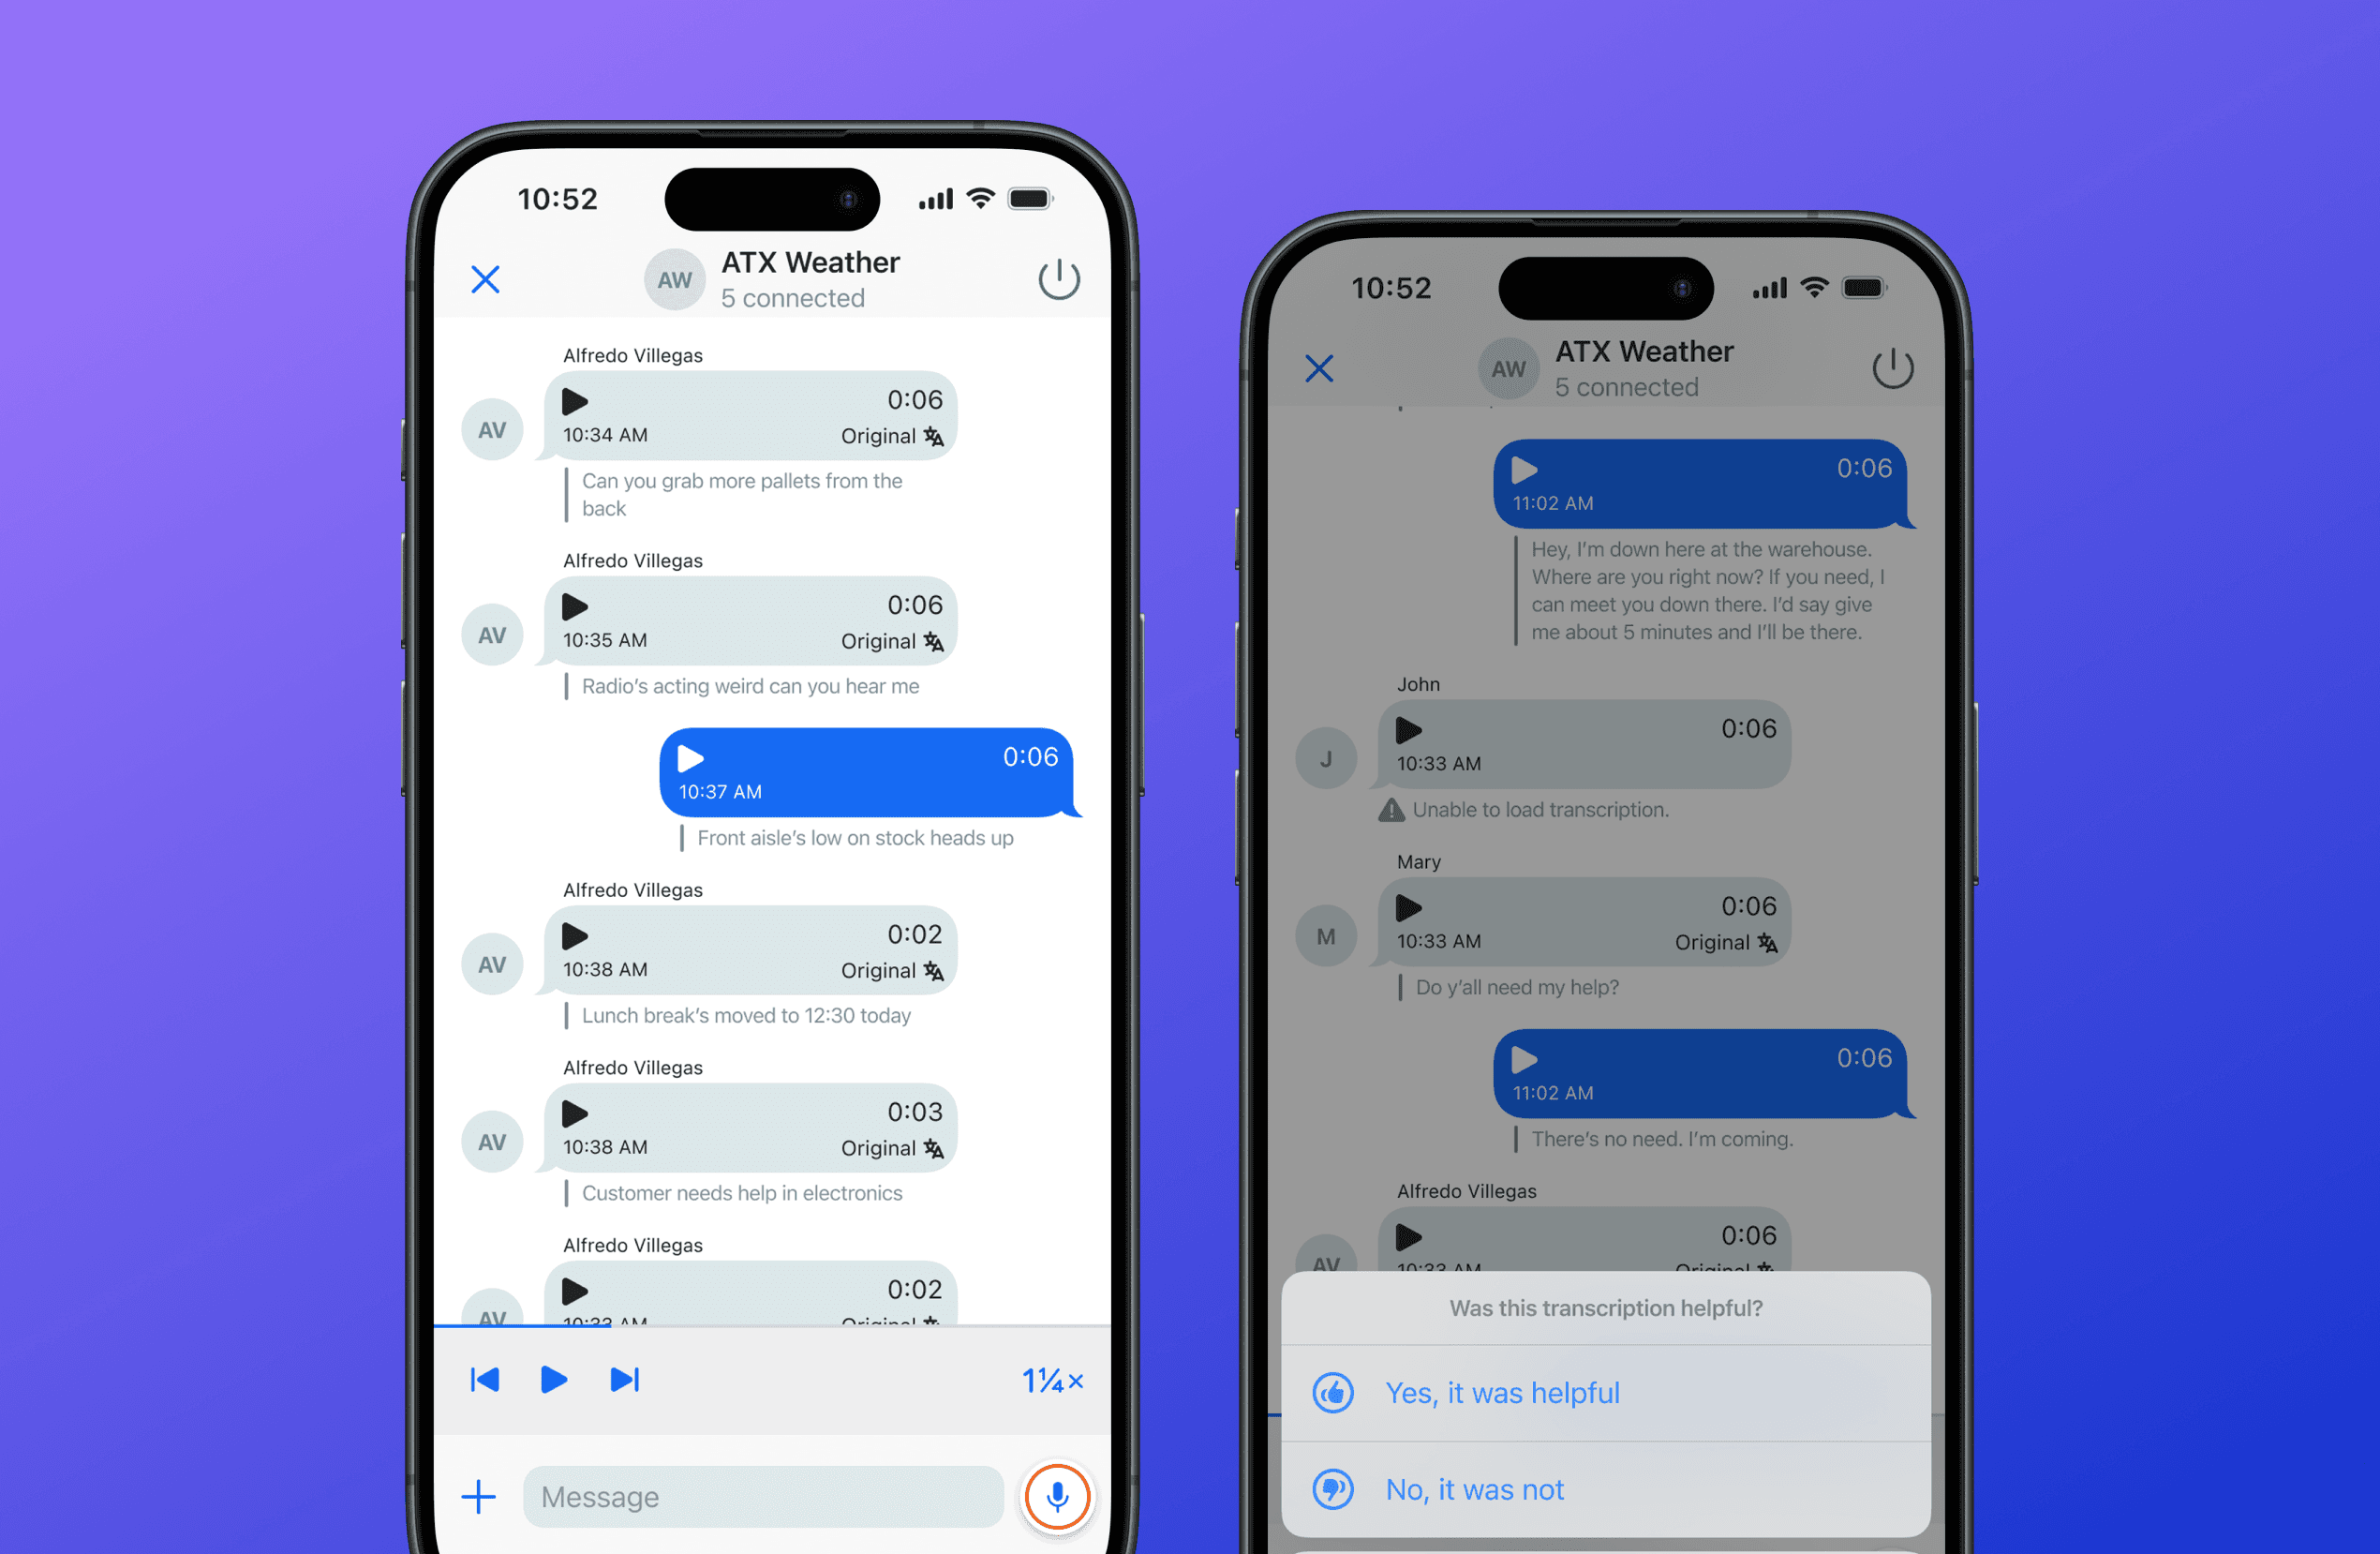
Designers & engineers relied on scattered files, and components weren’t modular or structured to scale. Colors used in production weren’t documented, there was no central inventory of components, and the lack of standardization led to design drift and inefficiencies.

Style-Only Guide
No Reusable Logic
Poor Scalability
Solution: New Scalable Component Library

Utilizing the Atomic Design Principles
I followed Atomic Design to structure my component system—from basic atoms like buttons and inputs, to molecules and complex organisms. This method ensured visual consistency, improved reusability, and made it easier to scale and maintain the product.

Button Component: A Foundational Atom
As one of the most reused and customizable elements, the button set the standard for spacing, typography, and interaction states across the entire system—making it a key reference point for consistency and scalability.
Designing a Net-New Text Input Component
This component wasn’t just a visual update—it was built entirely from scratch. I defined every interaction state, aligned with Material Guidelines v2, and created detailed documentation for all permutations across light and dark themes. This work highlighted my ability to not just maintain, but architect and scale new components from the ground up with strong design system thinking.